

Key Takeaways
- Solar panel bird proofing mostly means closing the warm, sheltered gap under the array where pigeons nest and rodents chew wiring.
- Galvanised mesh clipped to the panel frame is the most reliable fix. Spikes and gels help on rails and parapets but do not seal the whole perimeter.
- Bird droppings and nesting debris cause soiling and hot spots, quietly shaving 3 to 8 percent off yearly generation before you notice.
- A mesh guard for a typical 3 kW rooftop array runs roughly ₹6,000 to ₹15,000 installed, far cheaper than replacing a scorched panel.
- Never work on a live DC array or a wet roof alone. Isolate the system and use a harness for anything past the roof edge.
The first time a client called me about a "dead" panel, the culprit turned out to be a pigeon family. They had moved into the shaded gap under his 4 kW array in Pune, and two seasons of droppings and feathers had baked onto one module. Solar panel bird proofing is the least glamorous job I do, and also one of the most cost effective. Left alone, birds and pests turn a clean rooftop into a nesting colony, and the damage shows up on your generation graph long before you spot it from the ground.
Why birds and pests love your solar array
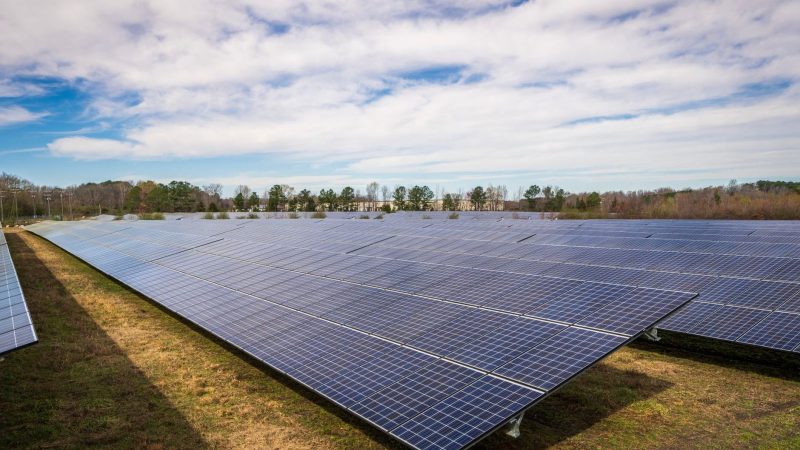
A rooftop array creates a perfect shelter. The panels sit 10 to 15 cm above the roof on rails, giving a dry, shaded, wind-protected cavity that stays a few degrees warmer than open roof at night. To a pigeon or a myna, that is prime real estate.
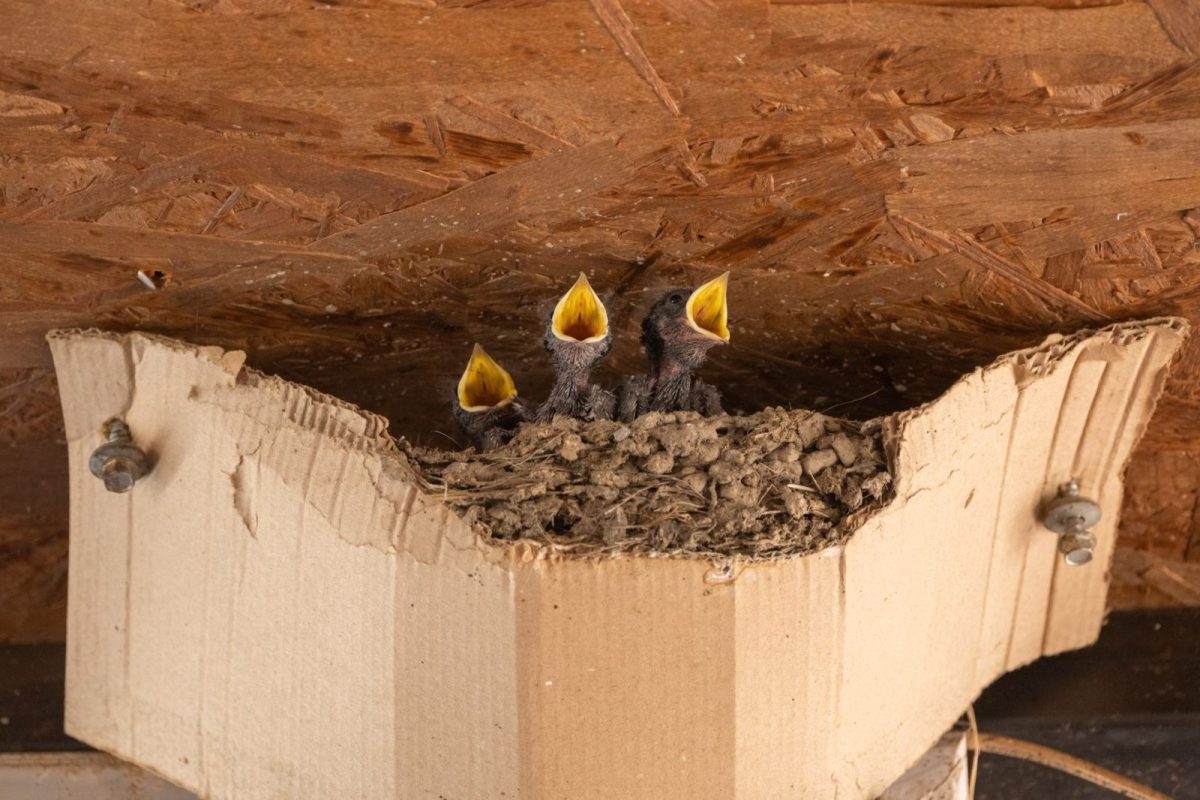
Once one pair nests, others follow. Within a couple of monsoon seasons you can have a dozen birds living under the array, plus the squirrels and rats that come for spilled food and the warmth. In coastal and semi-urban parts of India I see this constantly, and it almost always starts at the corner panels nearest a parapet or water tank.
The real damage pests cause
This is not just a mess problem. The costs stack up in three ways, and only the first one is obvious from the driveway.
- Soiling and shading: Droppings are opaque and sticky. A single splatter on a cell blocks light, and because cells wire in series, one shaded cell drags down a whole string. Nesting straw and feathers pile against the lower edge and trap water and dust.
- Hot spots: A blocked cell keeps carrying current but cannot convert it, so it heats up. Over time this creates hot spots that can crack the encapsulant, discolour the backsheet, and permanently kill output on that section.
- Chewed wiring: Rodents and squirrels gnaw DC cable insulation. Exposed conductors on a roof are a genuine fire and shock risk, and they trip your inverter with ground faults that are miserable to trace.
Add it up and a neglected array loses somewhere between 3 and 8 percent of annual generation from soiling alone, based on what I measure before and after a clean-and-seal job. The chewed-cable risk is rarer but far more expensive when it lands.
Mesh, spikes, or gel: what actually works
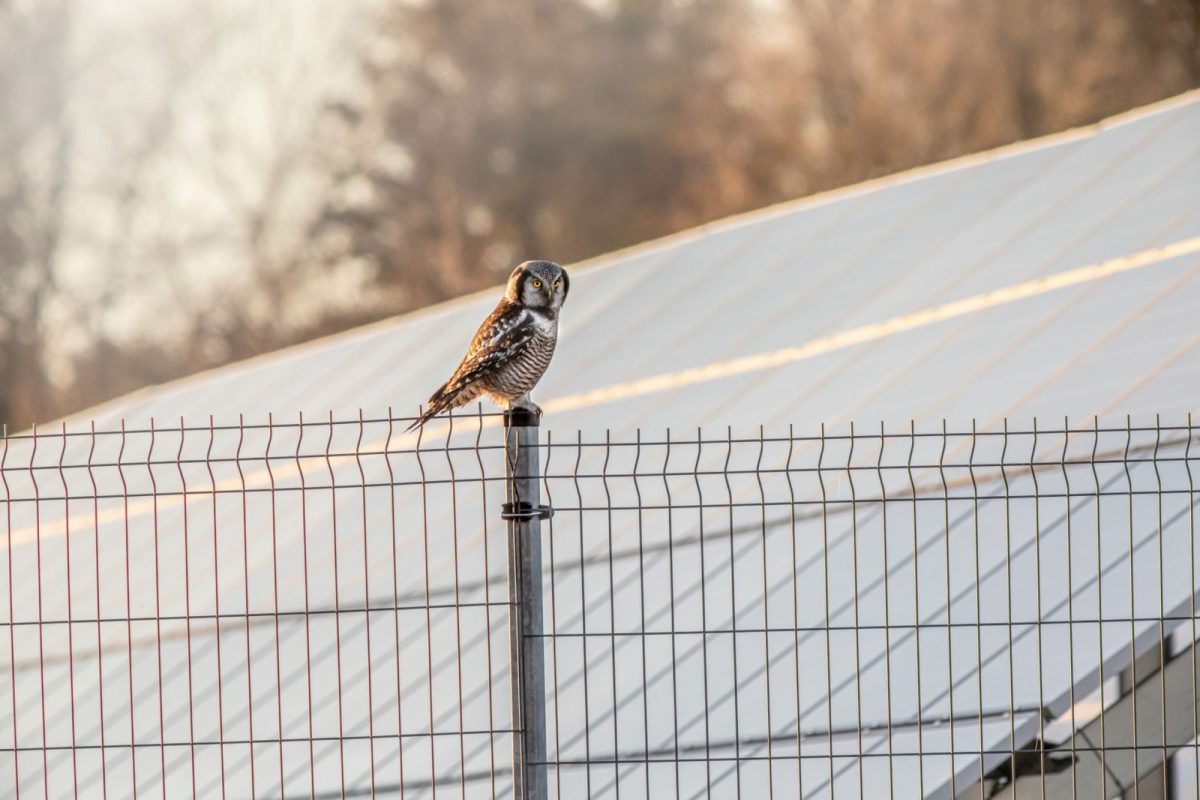
People reach for pigeon spikes first because they are cheap and visible at the hardware shop. Spikes stop birds landing on a rail or parapet, but they do nothing about the open gap under the panels, which is the part that matters. For solar, sealing the perimeter beats scaring birds off the top.
| Method | What it does | Best for | Rough cost (3 kW array) |
|---|---|---|---|
| Galvanised or PVC-coated mesh clips | Seals the full gap under and around panels; no drilling into frames | The primary fix for nesting and rodents | ₹6,000 to ₹15,000 installed |
| Stainless bird spikes | Stops perching on rails, parapets, and inverter tops | Add-on for landing spots, not the array gap | ₹800 to ₹2,500 |
| Repellent gel or optical deterrents | Discourages landing for a while, needs reapplying | Temporary or supplementary use | ₹500 to ₹1,500 per season |
| Full anti-bird clip kit (proprietary) | Purpose-made mesh plus fixing clips sized to module frames | Clean, warranty-friendly installs | ₹12,000 to ₹25,000 installed |
Mesh wins because it is the only option that physically closes the cavity. Use galvanised steel or PVC-coated wire, roughly 12 to 20 mm aperture, held to the panel frame with dedicated clips so you never drill or void the module warranty. The clips grip the aluminium lip of the frame, the mesh drops down to the roof line, and the colony has nowhere to move in.
Tip: Buy clip-on mesh systems, not the kind that screw into your module frame. Any hole drilled in the frame can void the panel's mechanical warranty and opens a path for water. Clips leave the frame untouched.
Installing mesh guards, step by step
This is doable for a confident DIYer on a low, walkable roof. If your array sits near an edge or you are not comfortable working at height, hire your installer. Here is the sequence I follow.
- Isolate the system. Switch off the AC breaker, then the DC isolator at the inverter. The panels stay live in daylight, so treat every DC cable as energised.
- Evict and clean first. Remove any nest material, then wash off droppings with water and a soft brush. Wear a mask and gloves; dried droppings carry fungal spores.
- Inspect the DC cabling under the array for chew marks or exposed copper. Flag anything damaged for a qualified electrician before you seal it in.
- Measure the perimeter of the array, including gaps between rows if birds can move between them.
- Clip the mesh to the outer frame lip, working one side at a time. Keep it snug to the roof so nothing can squeeze under.
- Seal corners and the joints where rows meet. These are the weak points birds probe first.
- Do a final walk-around, check every clip is seated, and restore power: DC isolator on, then the AC breaker.
Safety warning: A solar array is a live DC source whenever the sun is up, and roof work adds fall risk. Never work alone, never on a wet or slippery roof, and use a proper harness and anchor for anything near the edge. DC arcs do not trip like AC. If you are unsure, this is a job for your installer.
Keeping the roof pest-free afterwards
Sealing the gap solves 90 percent of the problem. The rest is habit. Add spikes to any nearby perch that overlooks the array, keep the roof clear of food waste and standing water, and trim branches that give squirrels a bridge onto the roof.
Fold a mesh check into your routine cleaning, especially after the rains. Monsoon is when birds shelter hardest and when debris packs against the panels, so pairing bird proofing with your monsoon maintenance round makes sense. A quick twice-yearly look for loose clips and fresh droppings is enough to catch a repeat colony early, and it is one of the simplest ways to extend your system's lifespan.
For the wider picture on faults, dips in output, and diagnostics, our solar troubleshooting guide walks through how to read the symptoms before you climb up. Government resources are worth a look too: the Ministry of New and Renewable Energy publishes rooftop guidance, and the US National Renewable Energy Laboratory has solid research on how soiling cuts photovoltaic output.
Frequently Asked Questions
Do bird droppings really reduce solar output that much?
Yes, more than people expect. Droppings are opaque and stick hard, so they block light on the cells they cover. Because cells run in series, a few splatters can drag down a whole string and, over time, trigger hot spots that cause permanent damage.
Will fixing mesh to my panels void the warranty?
Not if you use clip-on mesh that grips the aluminium frame. Problems arise only when installers drill into the module frame, which can void the mechanical warranty and let water in. Always ask for a clip system that leaves the frame untouched.
Are pigeon spikes enough on their own?
No. Spikes stop birds perching on rails and parapets, but they do nothing about the open gap under the panels where nesting actually happens. Use spikes as an add-on for landing spots, and seal the array perimeter with mesh as the main fix.
How much does bird proofing a rooftop array cost in India?
For a typical 3 kW array, a clip-on mesh guard runs roughly ₹6,000 to ₹15,000 installed, with proprietary kits reaching ₹25,000. Spikes and gels are cheaper add-ons. Compared with replacing a hot-spotted panel, it pays for itself quickly.
How often should I check the mesh?
Twice a year is plenty for most homes, ideally once before the monsoon and once after. Look for loose or missing clips, fresh droppings, and any gap at the corners or between rows. Catching a new colony early keeps the fix a five-minute job.
Seal the gap before the birds find it
Bird and pest proofing is cheap insurance for the most expensive thing on your roof. Close the cavity with clipped mesh, add spikes to nearby perches, and fold a quick check into your seasonal cleaning. Do that and you will not be the person calling an installer about a "dead" panel that turned out to be a nest. If output has already dipped or your inverter is throwing faults, start with our solar troubleshooting guide to pin down what is really going on.