


Key Takeaways
- Most modern inverters already have monitoring built in; setting it up is mainly a Wi-Fi and app job, not a big hardware project.
- The setup order that never fails me: check what your inverter supports, get a stable network to it, register the account, then verify data is actually arriving.
- A weak Wi-Fi signal at the inverter is the single biggest reason home monitoring "does not work" in India, so fix the signal before blaming the app.
- Production monitoring shows what your panels make; adding CTs later shows what your home consumes, which is where the real savings insight lives.
- Once it is running, spend five minutes reading the data in week one so you know what a healthy day looks like on your roof.
If you want to know how to set up solar monitoring at home, the good news is that it is one of the easiest parts of owning a solar system. I am Arjun Mehta, and I have commissioned enough rooftop systems across Indian homes to know that most people already have the hardware to do this on day one, they just never finished the setup. In this guide I will walk you through exactly what solar monitoring installation involves, step by step, from checking your inverter to confirming that live data is flowing to your phone. By the end you will have a working dashboard and, more importantly, you will know how to read it.
What Solar Monitoring Actually Does
Solar monitoring is simply a way to see, in near real time, how much electricity your system is making and how it is behaving. At its most basic it shows today's generation in kWh, current power in watts, and a simple graph across the day. That single graph is worth more than most people realise, because a healthy solar day has a recognisable shape and a sick one does not.
When I commissioned my first few grid-tied systems, I treated monitoring as a nice extra. I do not any more. The homes that check their dashboard are the ones that catch a tripped string or a dirty panel row in days, not months. If you want the full background on why it matters and the different levels available, our complete guide to solar monitoring is the pillar I point every client to.
Step 1: Check What Your Inverter Already Supports
Before you buy anything, find out what you already have. Almost every inverter sold in India in the last several years ships with some form of monitoring, either built into the unit or through a small add-on dongle. Open your inverter's manual or look at the product page for the words "Wi-Fi", "monitoring", "data logger", or "app".
Broadly, you will fall into one of three camps. Knowing which one you are in decides everything that follows, so do not skip this check.
| What you have | How monitoring works | What you need to do |
|---|---|---|
| Built-in Wi-Fi inverter | Radio is inside the inverter | Just connect it to your home network and register |
| Inverter with a dongle slot | A Wi-Fi/4G stick plugs into a port | Buy the matching brand dongle, plug in, then connect |
| Older / basic inverter | No native connectivity | Add an external monitor (energy meter or CT-based logger) |
Match the dongle to your inverter brand and model exactly. A Growatt stick will not talk to a Deye inverter, and mismatched hardware is a common reason a setup stalls before it starts.
Tip: Note down your inverter's serial number and the dongle's serial or PN number now. You will need both during account registration, and copying them off a rooftop unit in bright sun later is nobody's idea of fun.
Step 2: Get a Stable Network to the Inverter
This is the step that quietly decides whether your monitoring works. Inverters usually sit in a utility area, a garage, or an outside wall, which is often the exact spot where home Wi-Fi is weakest. Over a few installs I noticed a clear pattern: when a customer says monitoring "keeps dropping", the signal at the inverter is almost always the culprit.
Stand next to your inverter with your phone and check the Wi-Fi bars there, not in your living room. Most inverter radios only support the 2.4 GHz band, which travels further through walls than 5 GHz, so make sure that band is enabled on your router. If the signal is poor, a mesh node or a Wi-Fi extender near the inverter fixes it far more reliably than hoping the app will cope.
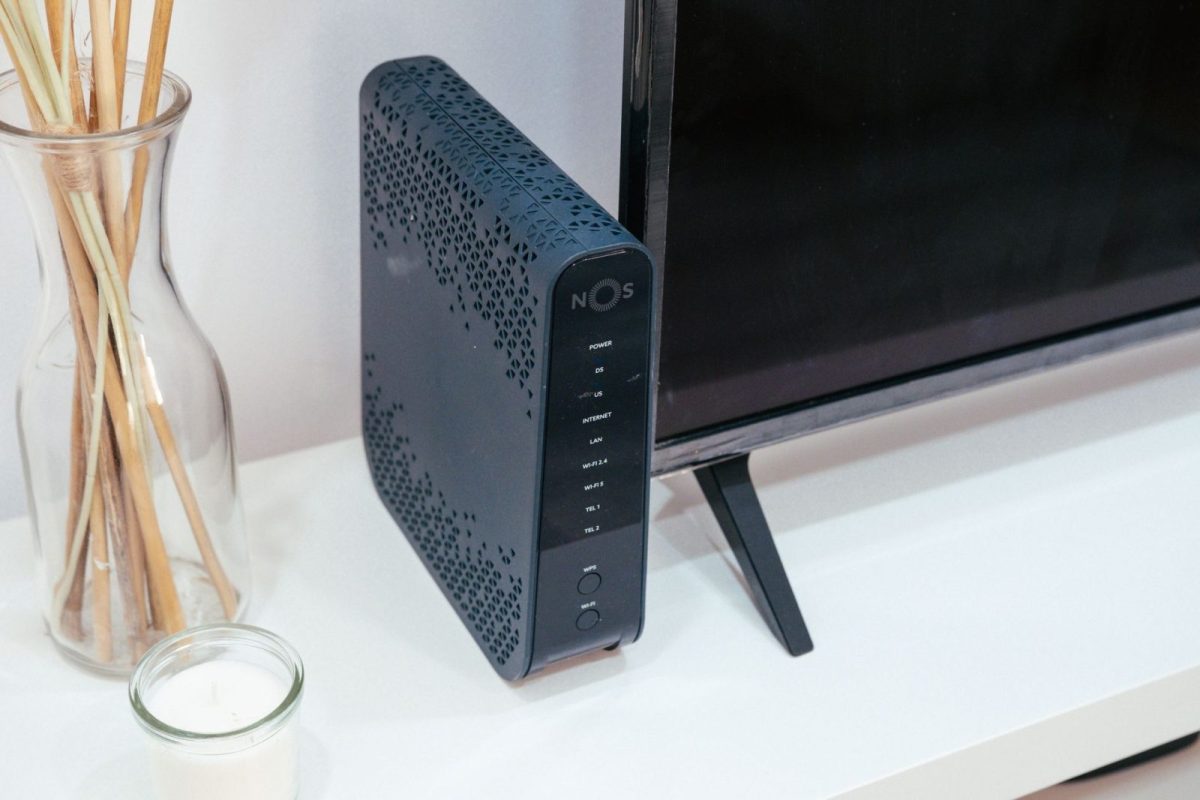
If Wi-Fi simply cannot reach, you have two good fallbacks. A 4G dongle with its own SIM keeps the inverter online independent of your router, which suits farmhouses and remote roofs. Alternatively, a wired Ethernet run to the inverter, where the port exists, is the most bulletproof option of all.
Step 3: Install the App and Create Your Account
Now the software side. Download your inverter brand's official monitoring app from the Play Store or App Store; common ones in India include Growatt ShinePhone, Solarman, SolarEdge mySolarEdge, and FusionSolar. Avoid third-party clones, and check the developer name matches the manufacturer.
Create an account with an email you actually use, because password resets and alerts go there. During registration the app will ask you to add a "plant" or "station", which is just your installation. This is where those serial numbers from Step 1 earn their keep.
Tip: If your installer set up the account under their own login, ask them to transfer ownership or give you your own end-user account. You want to own your data, not depend on the installer's phone for it.
Step 4: Pair the Inverter to Your Wi-Fi
This is the actual "connect solar monitoring" moment, and every brand does it slightly differently, but the flow is the same. The dongle temporarily broadcasts its own hotspot, your phone joins it, you hand it your home Wi-Fi name and password, and it then joins your network for good.
Here is the sequence I use on almost every commissioning, written so you can follow it on your own roof.
- In the app, choose to add or configure a device, and select the Wi-Fi setup or pairing option.
- When prompted, press and hold the reset or key button on the dongle until its light blinks in the pairing pattern the manual describes.
- On your phone, join the dongle's temporary hotspot (its name usually starts with the brand or the serial number).
- Back in the app, pick your home 2.4 GHz Wi-Fi network and type the password carefully; a wrong password is the most common failure here.
- Confirm and wait for the dongle's light to go solid, which means it has joined your network and reached the server.
If pairing fails, do not repeat it five times in frustration. Power-cycle the inverter, move your phone closer, double-check you are on the 2.4 GHz band, and re-read the password. Nine times out of ten it is one of those four things.
Safety warning: Monitoring setup itself is low voltage and safe, but never open the inverter's DC or AC covers, touch string wiring, or work on the mains to "improve" a connection. Those carry lethal voltages. Anything beyond plugging in a dongle and pressing its button should be left to your installer or a licensed electrician.
Step 5: Verify Data Is Actually Arriving
A solid light on the dongle does not always mean live data on your dashboard, so verify. Open the app in daylight while the panels are producing and look for a current power reading above zero and a graph line that is climbing or steady. If it shows the correct time and a sensible wattage for the sun outside, you are done.
Data usually appears within a few minutes but can lag up to fifteen, so give it time before assuming failure. Note that portals only update while the sun is up; a flat zero line at 9 pm is completely normal, not a fault. Learning that a real day should look like a smooth bell curve helps you here, and our walkthrough on how to read your solar production curve shows exactly what healthy and unhealthy shapes look like.
Step 6: Turn On Alerts and Add People
The last five minutes of setup are the ones most people skip, and they are the ones that pay off. In the app settings, enable fault and low-generation notifications so the system tells you when something is wrong instead of you having to remember to check.
If you like, add a second user such as a family member or your installer with view access, so a problem is not missed while you travel. This small step is the difference between catching a dead string in two days versus finding it on next quarter's electricity bill.
Going Further: Consumption Monitoring
Everything above gives you production monitoring, which is what your panels generate. The next level is consumption monitoring, which shows what your home actually uses and how much solar you are self-consuming versus exporting. That is where the genuinely useful money insight lives.
Consumption monitoring needs small current sensors called CTs clamped around your main wires, usually by an electrician. It is a modest upgrade with a big payoff for anyone chasing lower bills. If that appeals, read our step-by-step on how to add CTs for consumption monitoring before you buy anything, because CT placement and rating matter.
Common Setup Problems and Fixes
Most monitoring setup steps go smoothly, but a handful of issues come up again and again. Here are the ones I troubleshoot most often, with the fix that usually works.
| Symptom | Most likely cause | Fix |
|---|---|---|
| Dongle will not pair | On 5 GHz, or wrong password | Switch phone to 2.4 GHz, retype password |
| Connects then drops daily | Weak Wi-Fi at the inverter | Add a mesh node or extender nearby |
| App shows offline all day | Router changed, name or password | Re-run Wi-Fi pairing with new details |
| Data lags or freezes | Server sync delay | Wait 15 minutes before power-cycling |
For the official India rules on metering and grid-connected rooftop systems, the Ministry of New and Renewable Energy is the authoritative reference. And if you ever want to sanity-check what "good" generation looks like for your location and season, the National Renewable Energy Laboratory publishes solar resource data worth a look.
Frequently Asked Questions
Do I need internet for solar monitoring to work?
For cloud dashboards and phone alerts, yes, the inverter needs internet through Wi-Fi, Ethernet, or a 4G dongle. The solar system itself keeps generating and exporting normally without internet; you simply lose the remote view and notifications until it reconnects.
How much does it cost to set up solar monitoring?
If your inverter has built-in monitoring, setup is free beyond your time. A branded Wi-Fi dongle is usually a modest add-on, and a 4G stick with a SIM costs a little more plus data. Consumption monitoring with CTs adds a small hardware and electrician cost.
Why does my monitoring app show no data at night?
That is completely normal. Production monitoring only reports while your panels are generating, so the live power reads zero and the graph is flat after sunset. Historical data for the day stays visible. Only worry if data is missing during clear daylight hours.
Can I monitor a system my installer set up under their account?
Yes, but ask them to transfer the plant to your own end-user account or create one for you. Owning your login means you keep access to your data and alerts even if you change installers later. Reputable installers do this without fuss.
Which Wi-Fi band should I use for the inverter?
Use 2.4 GHz. Most inverter Wi-Fi radios do not support 5 GHz at all, and 2.4 GHz travels better through walls to reach the inverter's location. Make sure that band is enabled and that your phone is on it during the pairing step.
Bringing It All Together
Setting up solar monitoring at home comes down to six calm steps: know your inverter, get a stable network to it, register your account, pair the Wi-Fi, verify live data, and switch on alerts. Do that once and you gain a clear window into a system that would otherwise sit silent on your roof. Spend a few minutes reading your dashboard in the first week, and check the complete guide to solar monitoring when you are ready to go deeper. You can learn more about who writes here on our about page. Your panels are already working hard, so it is only fair you can see the results.