

Key Takeaways
- Most solar monitoring setup mistakes are not hardware faults at all - they are weak Wi-Fi, wrong meter placement, or a skipped configuration step during commissioning.
- A dead dashboard usually means a broken data path (inverter to router to cloud), not a broken inverter, so check connectivity before you panic about generation.
- Without a consumption CT clamp or a compatible smart meter, your app shows generation only - you cannot see self-consumption, export, or true savings.
- Set your correct system size, tariff, and location during setup, or every savings and performance-ratio number the app shows you will be quietly wrong.
- Get monitoring verified on commissioning day while the installer is still on your roof - fixing it later means another site visit.
Getting your panels up on the roof is the easy part. The bit that quietly trips up most homeowners is the dashboard - and the truth is that the majority of solar monitoring setup mistakes have nothing to do with faulty equipment. They come from a weak signal, a CT clamp on the wrong wire, or a configuration screen that got skipped on commissioning day. I have commissioned and troubleshot enough of these to know that a blank app is far more often a data-path problem than a generation problem. In this guide I will walk you through the mistakes I see again and again, why they happen, and exactly how to avoid or fix each one.
Why Monitoring Setup Goes Wrong So Often
Monitoring sits at the far end of a chain: your inverter has to log data, push it to a home router, and that router has to reach the manufacturer's cloud. Break any link and the app goes dark. The confusion is that the panels can be generating perfectly while the dashboard shows nothing, so people assume the system has failed when only the reporting has.
The second reason is that commissioning is rushed. The installer's priority is a working, grid-synced system by evening, and the monitoring account is often set up last, sometimes on the installer's own phone, sometimes half-finished. That is where most of the monitoring configuration mistakes are born - not on your roof, but in the app during the final ten minutes on site.
Mistake 1: Weak or Wrong Wi-Fi at the Inverter
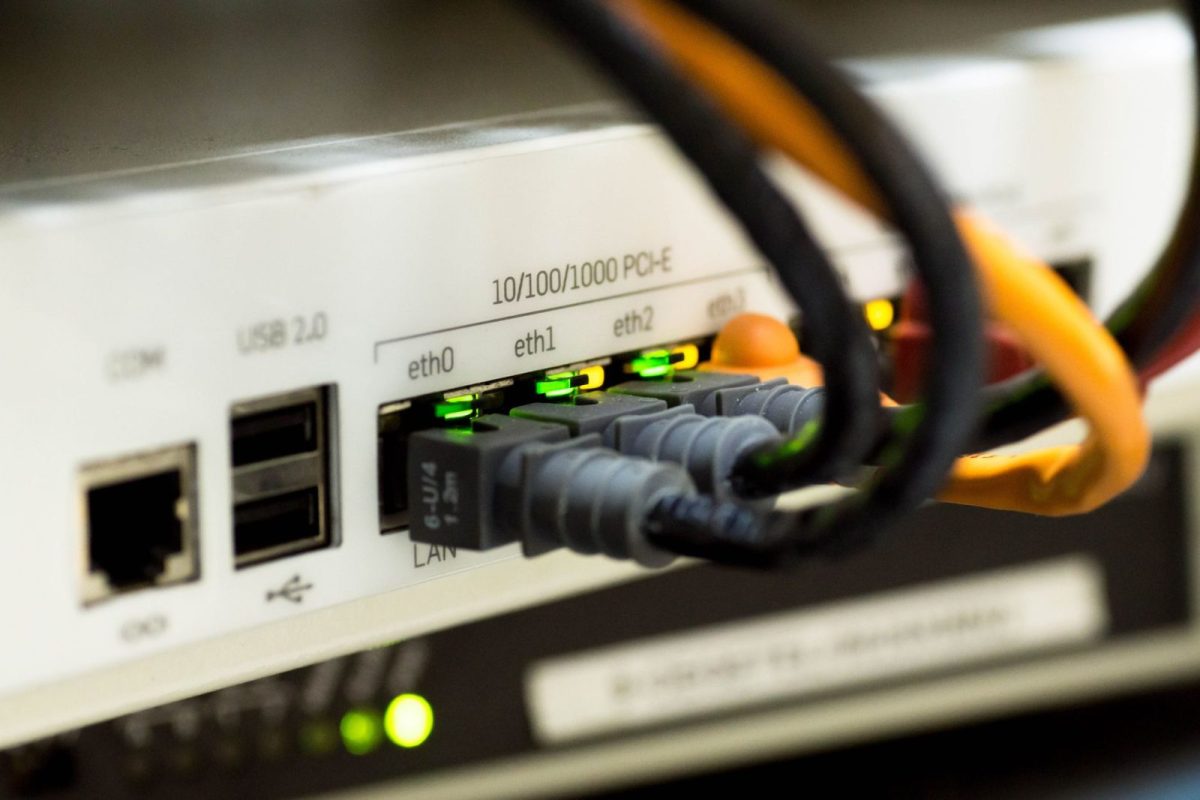
This is the single most common issue I meet. The inverter usually lives in a garage, utility corner, or shaded outside wall - exactly where the home router signal is weakest. The app connects during commissioning while the installer's phone is right next to it, then drops offline the moment everyone leaves.
Another trap: most inverter dongles only speak 2.4 GHz Wi-Fi. If your router broadcasts a single combined 2.4/5 GHz network and pushes the phone onto 5 GHz, pairing quietly fails. The fix is a strong 2.4 GHz signal at the inverter - a mesh node or Wi-Fi extender nearby, or better still, a wired LAN cable if the inverter has an Ethernet port.
Tip: Before commissioning day, run a free signal-strength app on your phone and stand where the inverter will go. If bars are weak there, sort out a mesh node or extender first - it is far cheaper than a return visit.
Mistake 2: Monitoring Generation Only, Not Consumption
Out of the box, most inverters report only what they produce. That looks fine until you want the number that actually matters: how much of that solar you used yourself versus exported to the grid. Without that, you cannot calculate real bill savings under net metering, and self-consumption is invisible.
The fix is a consumption sensor - a current transformer (CT) clamp on your main incomer, or a compatible smart energy meter wired at the board. Skipping this is one of the biggest monitoring errors because you only discover the gap months later when you try to understand your first low bill and the app cannot explain it. Decide up front whether you want generation-only or full energy-flow monitoring, and tell your installer before they order parts.
Mistake 3: CT Clamp Installed Backwards or on the Wrong Wire
When a consumption meter is fitted, the classic error is a reversed CT clamp. The arrow printed on the clamp must point in the direction of current flow, and it must sit on the correct phase conductor. Get it wrong and your app cheerfully shows you importing when you are exporting, or negative consumption that makes no physical sense.
Over a few installs I noticed this is almost always caught in the first hour if someone actually looks at the live screen. Run a simple test on commissioning day: switch on a big load like a geyser or AC and watch consumption climb; then on a sunny midday with low load, confirm the app shows export. If the signs are inverted, the clamp orientation is wrong.
Safety warning: Fitting a CT clamp or smart meter means working inside a live consumer unit near mains conductors. This is not a DIY job - it must be done by a qualified, licensed electrician who isolates the supply first. Do not open your main board to reposition a clamp yourself.
Mistake 4: Wrong System Details During Configuration
Every monitoring portal asks you to enter your system size in kW, your location, panel orientation, and often your electricity tariff. These are easy to skip or fudge, and doing so poisons every derived metric. Enter 3 kW when you installed 5 kW and your performance ratio looks terrible; leave the tariff blank and your savings figure stays stuck at zero.
Location matters more than people expect. The portal uses it to pull local weather and irradiance, which drives the expected-versus-actual comparison. A wrong pin can flag healthy panels as underperforming, or hide a real problem. Spend five minutes checking these fields are accurate - system size, tariff in rupees, and a correctly placed location pin.
Mistake 5: Installer's Account, Not Yours
A subtle but serious one. Many installers create the monitoring plant under their own company account for convenience, giving you a read-only guest login - or no login at all. Months later, if you switch service providers or the installer's business closes, you can lose access to your own system's history entirely.
Insist that the plant is registered under an email address you control, with you as the owner or admin. The installer can keep a service-technician role for support, but you should hold the master account. This one request on commissioning day saves a lot of grief later.
Mistake 6: Ignoring Alerts and Firmware
Monitoring is only useful if it tells you when something is wrong. Yet many people never enable email or push alerts, so a string that has been dead for three weeks goes unnoticed until the quarterly bill arrives. Turn on fault and zero-generation alerts during setup, and add a second contact email.
Equally, leaving the dongle and inverter on years-old firmware causes mystery dropouts and app incompatibilities after a portal update. A quick firmware check every few months keeps the data flowing.
Quick-Reference: Mistakes, Symptoms and Fixes
| Mistake | Symptom in the app | Fix |
|---|---|---|
| Weak Wi-Fi at inverter | App works on day one, goes offline within days | 2.4 GHz mesh node, extender, or wired LAN |
| No consumption sensor | Only generation shown, no export or savings | Add CT clamp or compatible smart meter |
| CT clamp reversed | Import/export signs inverted, negative values | Re-orient clamp arrow to current flow (electrician) |
| Wrong system details | Bad performance ratio, zero savings figure | Correct kW size, tariff, and location pin |
| Installer-owned account | No login, or read-only guest access | Register plant under your own email as admin |
| Alerts and firmware ignored | Faults go unnoticed for weeks; random dropouts | Enable alerts; update dongle/inverter firmware |
How to Verify Your Monitoring on Commissioning Day
The best defence against every mistake above is a five-minute checklist while the installer is still on site. Do not let the crew leave until you have walked through these steps yourself.
- Confirm the monitoring account is under your email, with you as owner - log in on your own phone to prove it.
- Check that generation is showing live, matching roughly what a sunny day should produce for your system size.
- If you have a consumption meter, switch on a heavy load and confirm consumption rises; then confirm export appears at low load.
- Verify system size in kW, tariff, and location pin are all entered correctly.
- Enable fault and zero-generation alerts, and add a backup email.
- Walk to the inverter, note the Wi-Fi signal, and ask about a wired option if it is weak.
If you want to go deeper on what a healthy dashboard should look like day to day, our complete guide to solar monitoring covers the whole picture. To choose the right portal for your inverter brand, compare your options in our roundup of the best solar monitoring apps and portals, and once your data is flowing cleanly, learn how to read it properly with advanced solar performance analytics explained.
For the official rules on net metering and rooftop solar that shape what your monitoring should measure, the Ministry of New and Renewable Energy is the authoritative reference in India. You can also read more about how we test and who we are on our about page.
Frequently Asked Questions
Why does my solar app show no data even though the panels are working?
Almost always this is a broken data path, not a generation fault. The inverter is producing power but cannot reach your router or the cloud. Check the inverter Wi-Fi signal, confirm the dongle is on 2.4 GHz, and reboot the router. Panels can generate fine while the reporting link is down.
Do I need a separate meter to see my solar consumption and savings?
Yes, in most cases. Inverters report generation only by default. To see self-consumption, grid export, and real savings you need a consumption CT clamp on your main incomer or a compatible smart energy meter. Ask your installer to include one before they order equipment, as retrofitting means another board visit.
My app shows negative consumption or import when I am exporting - what is wrong?
This is a reversed CT clamp. The arrow on the clamp must point along the direction of current flow, and it must sit on the correct conductor. A licensed electrician needs to isolate the supply and re-orient it. Test by watching whether import and export signs match reality.
Should the monitoring account be in my name or the installer's?
It should be under an email you control, with you as owner or admin. Installers often register the plant under their own account for convenience, which risks losing access if you change providers. Let the installer keep a technician role for support, but hold the master login yourself.
How can I stop my inverter from dropping offline?
Give it a strong, stable 2.4 GHz signal or, ideally, a wired LAN connection. Add a mesh node or extender near the inverter if it sits in a garage or shaded corner. Also keep the dongle and inverter firmware updated, as old firmware causes mystery dropouts after portal updates.
Getting It Right From Day One
None of these monitoring pitfalls are hard to avoid - they just need someone paying attention during the ten minutes when everyone is keen to pack up and leave. Sort out the Wi-Fi, add a consumption sensor, own your account, and enter your details correctly, and your dashboard will actually earn its keep for the next twenty years. If you are just starting out, walk through our complete guide to solar monitoring before your install date so you know exactly what to ask for.