

Key Takeaways
- Solar earthing and surge protection are two different jobs: earthing gives fault current a safe path to ground, while surge protection devices (SPDs) clamp voltage spikes from lightning and grid switching.
- You need earthing at three points minimum in most Indian homes: the module frames, the inverter body, and the AC/DC surge protection device, all tied to a common earth pit.
- SPDs are cheap insurance. A Type 2 DC SPD near the inverter and a Type 2 AC SPD at the main board protect equipment that costs far more than the SPD itself.
- Poor earthing is the most common cause I see behind nuisance inverter trips, MPPT faults, and premature electronics failure.
- DC side and mains work are genuinely dangerous. If you are not confident, hire a licensed electrician for the final connections.
Getting solar earthing and surge protection right is the difference between a system that quietly runs for 20 years and one that keeps tripping, corroding, or dying after the first monsoon storm. Earthing safely drains fault current and static charge, while surge protection soaks up the fast voltage spikes that lightning and grid switching push into your wiring. I have opened enough burnt inverters over the years to know that most of them failed not because the panels were bad, but because the ground path or SPD was missing or done carelessly. In this guide you will learn what each part actually does, where to place earth pits and SPDs, a step-by-step approach for a typical home, and how to test that it all works.
Earthing vs Surge Protection: Two Jobs, One Goal
People use these terms interchangeably, but they solve different problems. Earthing (or grounding) creates a low-resistance path so that if a live wire touches a metal frame, the fault current rushes to ground and trips your breaker instead of waiting for a human to touch it. Surge protection handles the opposite direction: it catches sudden high-voltage transients and diverts them to earth before they reach your inverter electronics.
Both need a solid earth to work. An SPD with no proper earth is like a drain pipe that ends mid-air. This is why the two topics belong together, and why I never sign off a system with one done and the other skipped.
| Aspect | Earthing / Grounding | Surge Protection (SPD) |
|---|---|---|
| Purpose | Safe path for fault and leakage current | Clamps fast voltage spikes (lightning, switching) |
| Protects | People from shock | Equipment from damage |
| Where | Module frames, inverter body, earth pit | DC input and AC output of inverter |
| Typical cost (India) | Earth pit approx Rs 3,000 to 8,000 | SPD approx Rs 1,500 to 6,000 per unit |
| Works without the other? | Partly, but incomplete | No, needs earth to divert to |
Solar Grounding: What Actually Needs an Earth Connection
Every exposed metal part that could become live under a fault must be bonded to earth. For a rooftop system that means the module frames, the mounting rails, the inverter chassis, and the metal enclosures of your combiner or DB boxes. These are tied together with a continuous earthing conductor and led down to a dedicated earth pit.
Do not rely on the mounting bolts alone to bond panels together. Aluminium frames and steel rails develop an oxide layer that raises resistance over time. Use proper earthing lugs or WEEB clips rated for outdoor use, and run a dedicated copper or GI conductor along the array. When I commissioned a 5 kW system on a coastal roof, the installer had bonded frames only through the clamps; within a year salt corrosion had broken continuity and the earth-fault protection stopped seeing the array.
How many earth pits do you need?
For a small home system, one good earth pit with a resistance below 5 ohms is often acceptable, but many installers use two: one for the DC/array and equipment earth, and a separate one for the AC/neutral earth per utility rules. Where lightning risk is high, a dedicated lightning protection earth is added and bonded to the main earth to avoid dangerous potential differences.
Tip: Aim for an earth resistance below 5 ohms, and ideally under 1 ohm in high-lightning zones. Adding bentonite or a chemical earthing compound around the electrode keeps resistance stable through the dry season when soil dries out.
SPD for Solar: Choosing the Right Surge Protection Device
Surge protection devices are classed by how much energy they can absorb and where they sit. Type 1 SPDs handle direct lightning strike currents and belong at the service entrance of buildings with an external lightning protection system. Type 2 SPDs handle induced surges and switching transients, and are what most rooftop homes actually need at the inverter. Type 3 units give fine protection right at sensitive loads.
For solar you need both a DC-rated SPD and an AC SPD. This matters: a DC SPD must be rated for the array voltage and designed for DC arc extinction, so never substitute a cheap AC unit on the DC side. Match the DC SPD maximum continuous operating voltage to your string open-circuit voltage with margin.
| SPD Type | Handles | Where it goes | Typical home need |
|---|---|---|---|
| Type 1 | Direct lightning current | Service entrance, buildings with LPS | Only if you have an air terminal / tall LPS |
| Type 2 | Induced and switching surges | DC side near inverter + AC main board | Yes, the core of home protection |
| Type 3 | Residual fine surges | At sensitive appliances | Optional, for critical electronics |
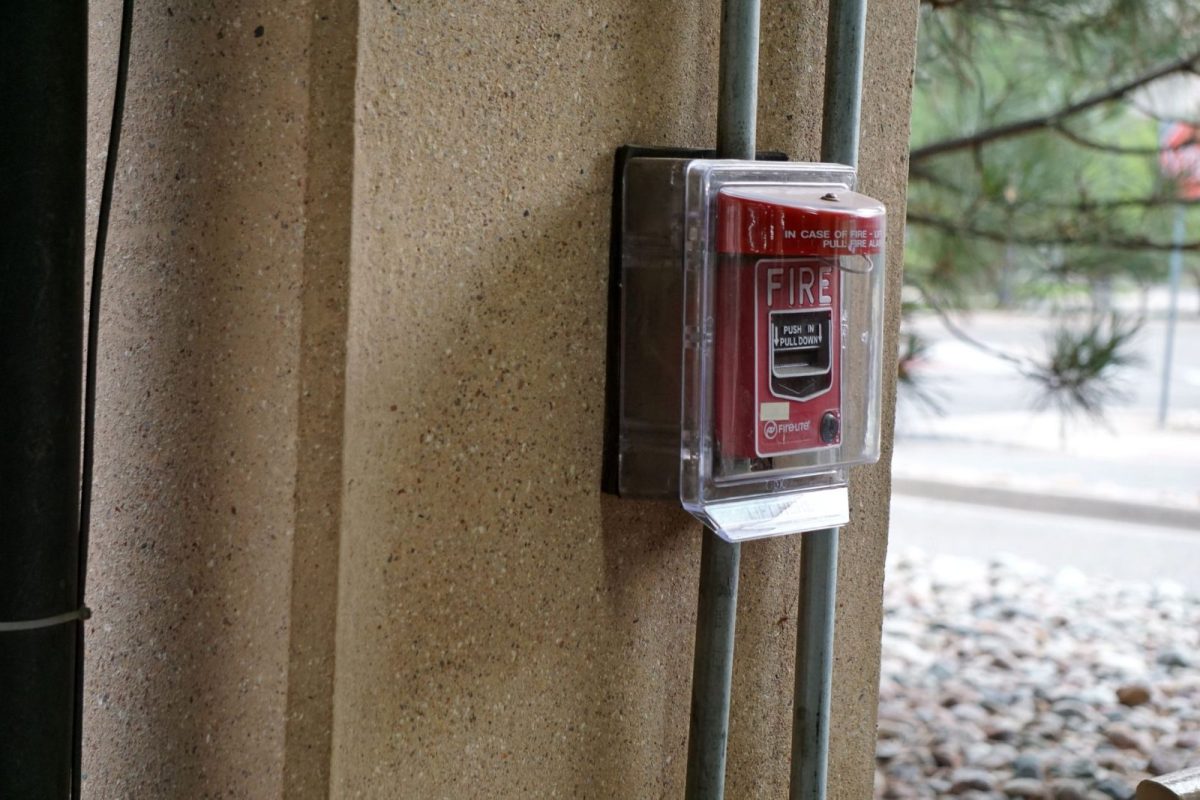
Warning: DC strings can carry lethal voltage even when the AC breaker is off, and they cannot be switched off by simply flipping a switch in bright sun without a proper DC isolator. Always isolate at the DC disconnect, verify zero voltage with a meter, and treat every DC conductor as live. If you are not trained on DC and mains, get a licensed electrician for these connections.
Lightning Protection for Solar: How Much Do You Really Need?
A rooftop array rarely takes a direct lightning hit, but it is a large metal surface connected to expensive electronics, so induced surges are the real threat. For most Indian homes, a properly earthed array plus Type 2 DC and AC SPDs handles the induced surges that travel in during nearby strikes and grid switching.
A full external lightning protection system with air terminals and down conductors only makes sense on tall or exposed structures, or where local codes require it. If you do add one, it must be bonded to the same earthing system so there is no dangerous voltage difference between the lightning earth and your equipment earth. Over a few installs I noticed that unbonded lightning masts caused more problems than they solved.
Step-by-Step: Earthing and Surge Protection for a Home System
Here is the sequence I follow on a typical single-phase rooftop install. Adapt sizes to your system, and confirm against your DISCOM and MNRE requirements before energising.
- Plan the earth pits. Mark a spot away from foundations with reasonable soil moisture. Dig for a chemical or GI-pipe electrode; plan one pit for equipment/DC earth and, if required, a second for the AC earth.
- Install the electrode. Set the rod or pipe, backfill with bentonite or earthing compound, and bring the earthing conductor up to a test link box so you can measure resistance later.
- Bond the array. Connect every module frame and rail with earthing lugs and a continuous conductor. Do not depend on clamp friction alone.
- Earth the inverter and enclosures. Tie the inverter chassis, combiner box, and DB metalwork to the equipment earth with correctly sized conductors.
- Fit the DC SPD. Install a Type 2 DC SPD rated above your string open-circuit voltage, as close to the inverter DC input as practical, with short, straight earth leads.
- Fit the AC SPD. Install a Type 2 AC SPD at the main AC board, again with the shortest possible earth connection.
- Keep SPD leads short. Long or looping earth leads add impedance and ruin SPD performance. Aim for total connecting-lead length under about 0.5 metres.
- Test and label. Measure earth resistance, verify continuity from frames to pit, label the SPD status window, and record readings in your commissioning file.
Sizing the earthing conductor
Undersized earth wire is a common shortcut. As a rough guide for home rooftop systems, a 6 sq mm copper equivalent for the equipment/module earth and 10 sq mm or more for the main earth conductor is typical, but always follow the cross-section your inverter manual and local code specify. For sizing the rest of the system correctly, see our guide on how to size a whole home solar system.
Testing and Maintenance
Earthing is not fit-and-forget. Soil dries out, connections loosen, and SPDs wear after each surge they absorb. Once installed, use an earth resistance tester (a clamp meter or a dedicated earth tester) to confirm the pit reads within target. Repeat this test at least once a year and after the pre-monsoon dry spell.
Most Type 2 SPDs have a small window that shows green for healthy and red for end-of-life. Check it during routine cleaning; a red flag means the module has taken its last hit and must be swapped. Also retighten earthing lugs annually, because thermal cycling slowly backs them out. For a full picture of how this fits your build, start with our complete guide to how to design a home solar system.
Tip: Take a photo of your earth resistance reading and SPD status window at commissioning and keep it with your paperwork. It is invaluable when filing a warranty claim or during a solar permits and approvals in India inspection.
Standards and Where to Read More
Solar earthing and SPD practice in India draws on IS/IEC standards for installation and surge protection, and MNRE guidelines for grid-connected rooftop systems. It is worth reading the official material rather than trusting a WhatsApp forward. You can find rooftop programme details on the MNRE website, and system safety background from the US National Renewable Energy Laboratory. For our own editorial standards, see the about page.
Frequently Asked Questions
Do I really need surge protection for a small rooftop solar system?
Yes. Even a small array is a large connected metal surface feeding expensive electronics. A pair of Type 2 SPDs on the DC and AC sides costs a few thousand rupees and protects an inverter worth many times more. In lightning-prone regions it is essential, not optional.
What earth resistance value should I aim for?
Below 5 ohms is a common practical target for home systems, and under 1 ohm is preferred in high-lightning areas. Lower resistance means fault current and surges reach ground faster and more safely. Use bentonite or chemical earthing to keep the value stable through the dry season.
Can I use the same SPD on the DC and AC sides?
No. DC surge protection devices are built to extinguish a DC arc and must be rated above your string open-circuit voltage. AC SPDs are designed for alternating current and will fail dangerously on DC. Always use a DC-rated SPD on the array side and an AC-rated one on the mains side.
How often should I check earthing and SPDs?
Test earth resistance at least once a year, ideally just before the monsoon after the dry season. Check the SPD status window during every panel cleaning; a red indicator means the device is spent and must be replaced. Retighten earthing lugs annually to counter thermal loosening.
Does earthing improve solar system performance?
Indirectly, yes. Good earthing prevents nuisance trips, MPPT faults, and slow electronics degradation that quietly rob output. It also lets earth-fault protection work correctly so faults are caught early. It will not add watts on a healthy system, but poor earthing regularly causes losses I have traced back to a bad ground.
Conclusion
Earthing and surge protection are the least glamorous parts of a solar install and the first ones cut to save money, yet they protect both your family and the priciest equipment on the roof. Get a solid earth pit, bond every metal part, fit a Type 2 SPD on each of the DC and AC sides, keep the leads short, and test it once a year. Do that and your system will shrug off the storms that kill carelessly wired arrays. When you are ready to plan the whole build properly, walk through our complete guide to how to design a home solar system.